 Within this page, we'll describe how we set up Jenkins on our server to meet our requirements. Out of all the tools that are out there we chose Jenkins because it's one of the more popular CI systems. Since it actually is so popular, you'll also find a lot of stuff on the internet on how to do certain things properly because there will have been people who already ran into similar problems. We were considering to use XCode Server from Apple as a CI but due to the restrictions to Apple we were rejecting this idea pretty fast.
Setup
Download the latest Jenkins .war file from the offical Jenkins homepage. On our server, we moved the .war file into the applications folder and created a separate Jenkins folder where we kept all of the Jenkins files together. You can handle this any way you want though by moving the files to a place suitable for you.
Open the terminal and start Jenkins with
java -jar /path/to/Jenkins/jenkins.war &Note: The "&" at the end of the command starts it in the background.
The path to the .war file depends on where you saved it on your system. After firing up the command you might face some error if you don't have at least Java Version 7 installed.
If you need to upgrade to the latest Java Version you need to do following steps:
1. Get the latest Java Version from Oracle.
Once you run the installer it'll install Java inside the /Library/Internet Plug-Ins/JavaAppletPlugin.plugin directory. But it doesn't overwrite /usr/bin/java which is the default directory used by Apple. You can check your version by typing in java -version
2. In order to change the version to the newest one that you just installed, run the following commands:
sudo rm /usr/bin/javaThis command will remove the old symbol link which points to /System/Library/Frameworks/JavaVM.framework/Versions/A/Commands/java (That's Apple's 1.6 Java Version). Now you need to set a new symbolic link to the new Java version.
sudo ln -s /Library/Internet\ Plug-Ins/JavaAppletPlugin.plugin/Contents/Home/bin/java /usr/binAfter that, try again if you can successfully start Jenkins using the command
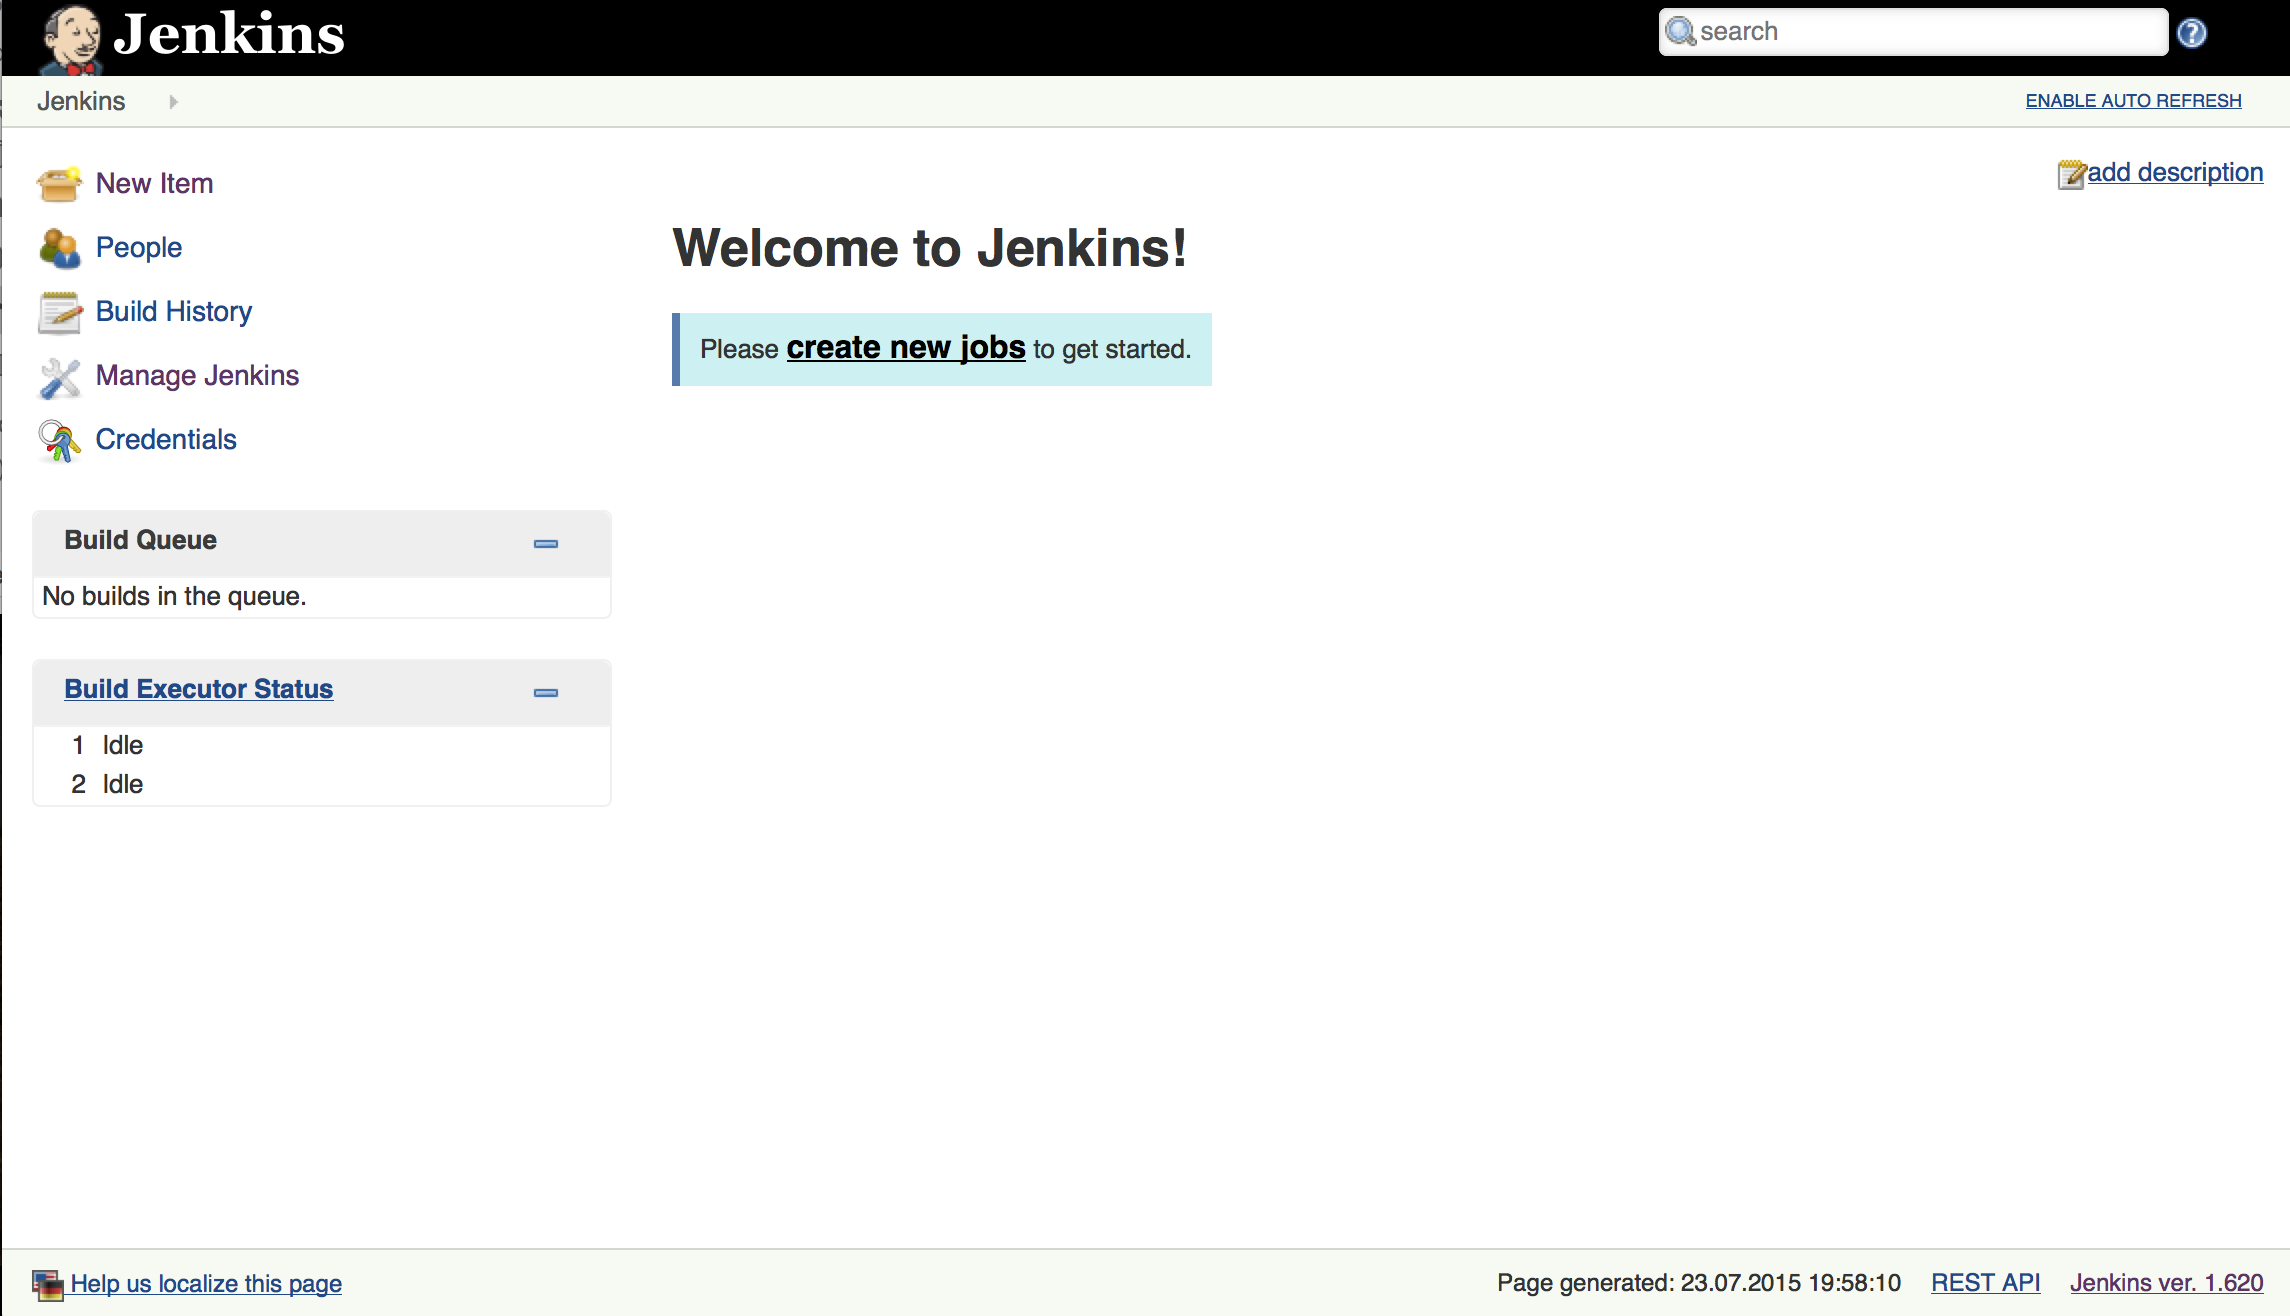
java -jar /Applications/Jenkins/jenkins.war &Once done and you don't see any further error messages in the terminal you can access Jenkins via the Webfrontend http://localhost:8080/ and it should look something like below.
Improve security
Jenkins doesn't force you to use any authentication method at all. You should take care of this yourself by activating the security settings though because Jenkins is usually reachable over the network and could be quite easily accessible without any security features.
In our case the following changes have been made under Manage Jenkins > Configure Global Security > Enable Security:
Here we activated Jenkins own user database under the sectionSecurity Realm, don't forget users to signup. Once everyone is registered you should deactivate this feature again. Otherwise it's still insecure because everyone can register by himself and has admin rights. We left the Authorization field as it was: Logged-in users can do anything.
In case you use Gerrit you should also add a Jenkins user for Gerrit.
Note: If you don't add a security realm it will cause an error "/j_acegi_security_check".
Once you're finished tweaking the settings, don't forget to save all of your changes.
Install Plugins to make your life easier
The benefits of an open-source platform with a large userbase helps you again when it comes to adding additional functionality to Jenkins: There's a multitude of plugins! Below, you'll find the plugins that we thought were necessary for our system:
- Slack Plugin
To annoy your team and send out notifications whenever someone changed something in the code, this tool is really awesome.
- GIT Plugin
You'll need this plugin in order to use git for source control management.
- Gerrit Trigger
This will integrate Jenkins to Gerrit code review for triggering builds when e.g. a "PatchSet" is created.
- XCode Integration
Instead of writing a script where you access Xcode i.e. to build your project, you can define those things right within this plugin. It'll call Xcode's command line tool for you.
You can install all of the plugins above and much more by accessing "Manage Jenkins" > "Manage Plugins". Select the "Available" tab from the overview and from there, choose any plugin that you want to install by hitting "Download now and install after restart". In the next section we'll cover the configuration for the plugins that we used.
Configuration
In order to use our freshly installed plugins, we must configure them correctly.
Slack
- First you need to get a Slack account
- Then you need to configure the Jenkins integration for Slack
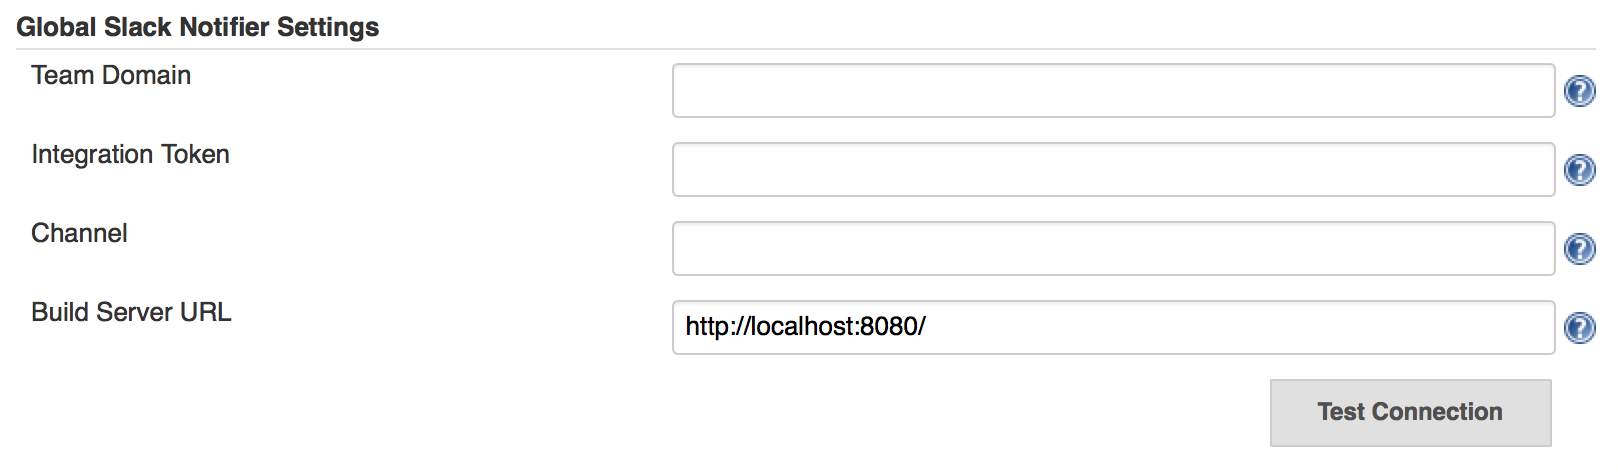
- After that, configure your Slack plugin. Go to "Manage Jenkins" > "Configure System". There you'll find a section about Slack "Global Slack Notifier Settings" where you can insert your settings.
XCode Integration
In order for the plugin to use the command line tools that Xcode provides, you must have Xcode installed on your machine. If not already installed, download it from the AppStore (it's free) and open it at least once. This should make it install all of the necessary tools it needs. Later on, if you want to run automated Unit Tests, you'll also need to install an iOS simulator because otherwise the jobs that include testing won't work properly. Hence, go to the statusbar while running Xcode and open "Xcode" > "Preferences". In the "Downloads" tab, you'll see a list of all simulator versions available. Select the one(s) you need and install them immediately.
Gerrit Trigger
Configure the Gerrit Plugin in "Manage Jenkins" > "Gerrit Trigger"
Select "Add new server" on the left and enter a name for your Gerrit server and choose "Gerrit Server with Default Configurations".
In the field "Frontend URL", enter the server address of your Gerrit including the port number - if you're working on the same machine, it could just be the localhost (e.g. http://127.0.0.1:8081). In order to connect via SSH, we need port 29418. You then need to enter the username that you added earlier in Preparing Gerrit for Jenkins Integration - in our case "jenkins". Additionally, add the SSH Keyfile (private key) and password which you generated for Jenkins in Gerrit. Further changes can be made regarding the values which will be given from Jenkins to Gerrit once triggered.
Jobs
Now you can start setting up your Jenkins Jobs. A job can have different tasks - normally a project consists of different jobs which have different purposes like executing unit tests, building artefacts and so on.
In our case we created two separate Jobs which differentiate in a few settings.
1. Build and test PatchSet on dev - Build the project and run tests
2. Build and upload master branch - Build the project, generate an IPA and upload it to iTunesConnect which will distribute the app via TestFlight.
For creating a new job, select "New Item" on the left side. Assign a project name, in our case "Build and test PatchSet on dev" as "Freestyle project" and select OK.
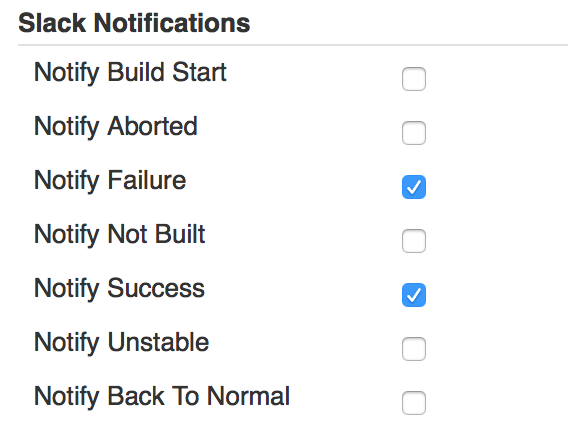
Slack Notifications
In the first section are settings about Slack configured. We set a checkmark for "Notify Failure" and "Notify Success" so that we get notified in those two cases.
In order for the notifications to actually be sent, you'll have to add a "Post-build Action" > "Slack notifications". Once done, it should automatically send notifications.
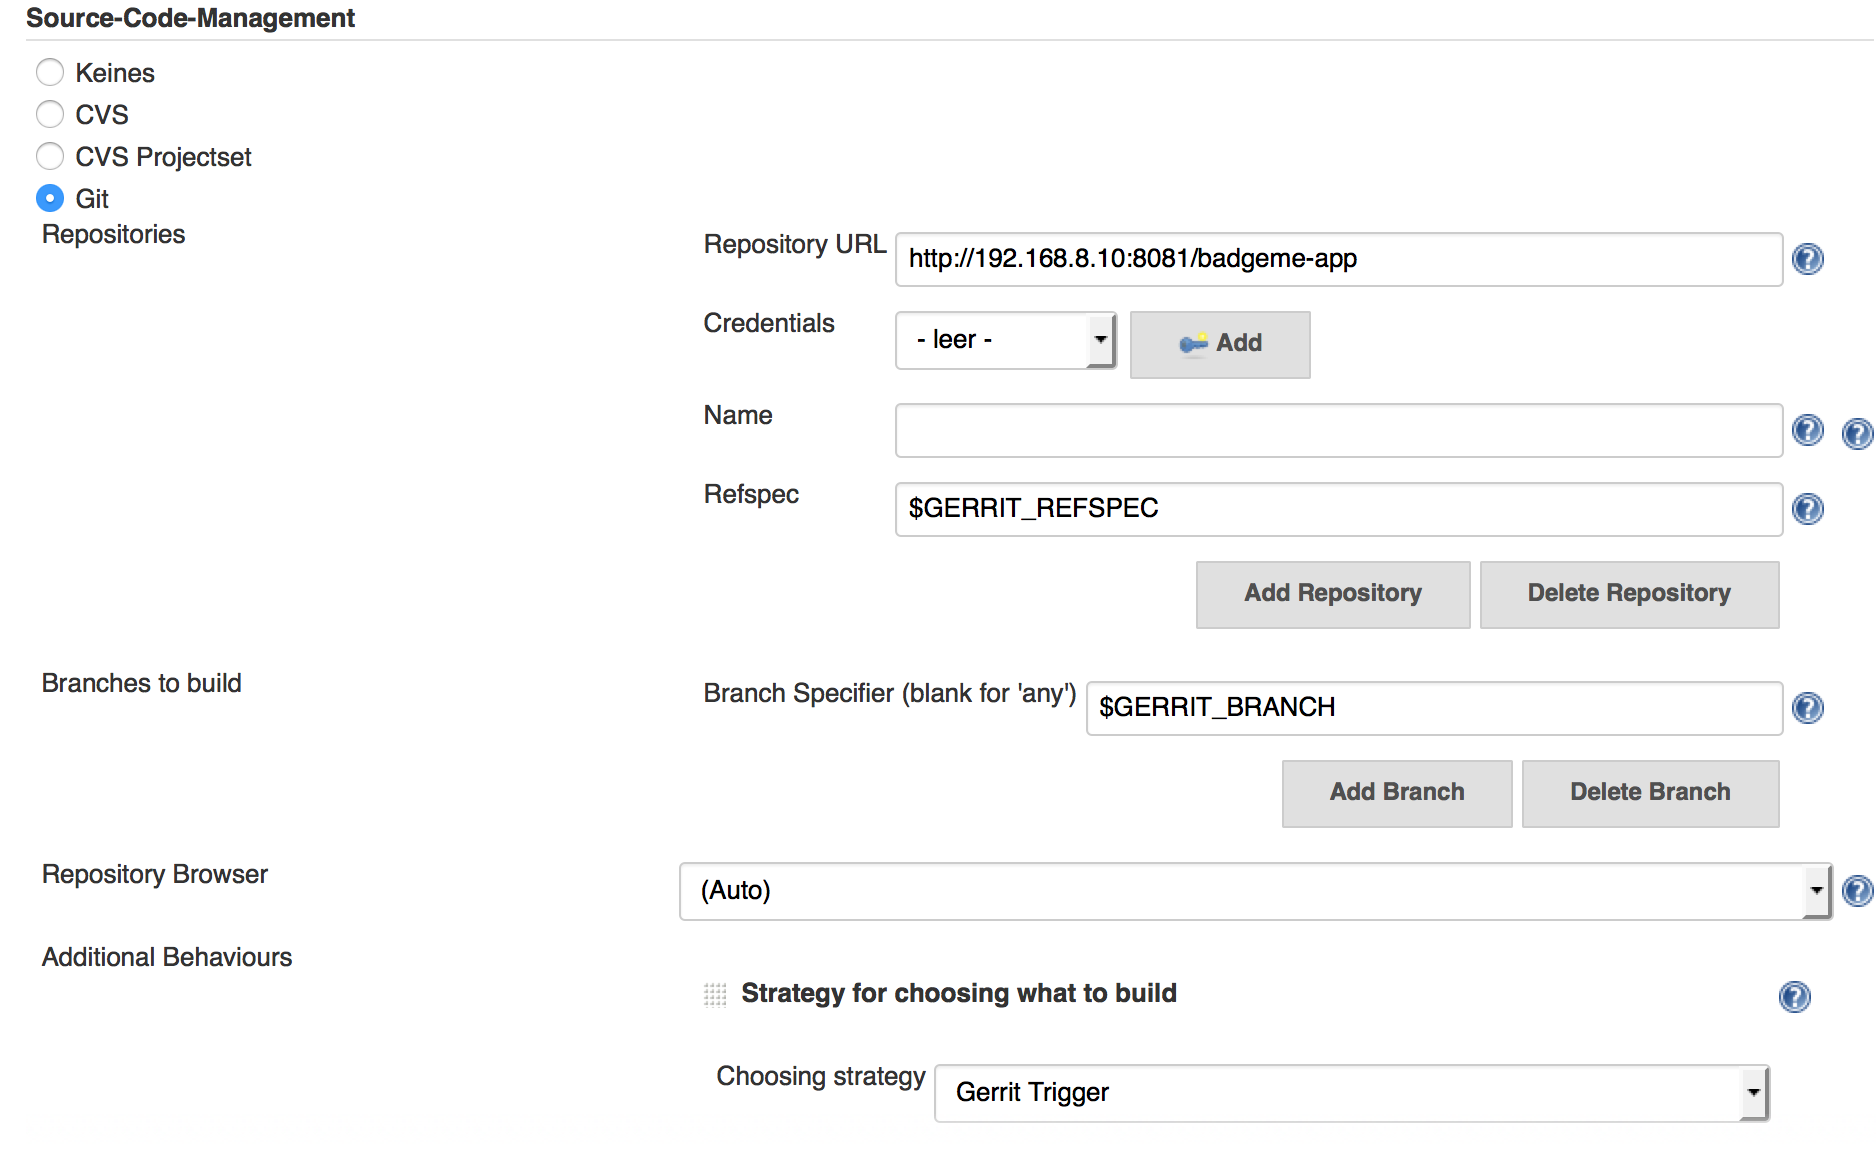
Source Code Management
- In the section "Source Code Management" select Git. For the repository URL you'll need to enter the URL of your Gerrit server concatenated with the Gerrit project name, e.g. "http://127.0.0.1:8081/Myapplication". If you don't use Gerrit, just link to your Git project.
- Further changes which are needed when using Gerrit
- You need to click on the "Advance" button and under Refspec write "$GERRIT_REFSPEC".
- "Branches to build" needs "$GERRIT_BRANCH" as a parameter.
- In "Additional Behaviours" you need to add "Strategy for choosing what to build". Select your Gerrit Trigger as your "choosing strategy".
Build Triggers
As build trigger you select "Gerrit event".
- "Choose a Server". There you select your Gerrit server which you set earlier in the overall settings.
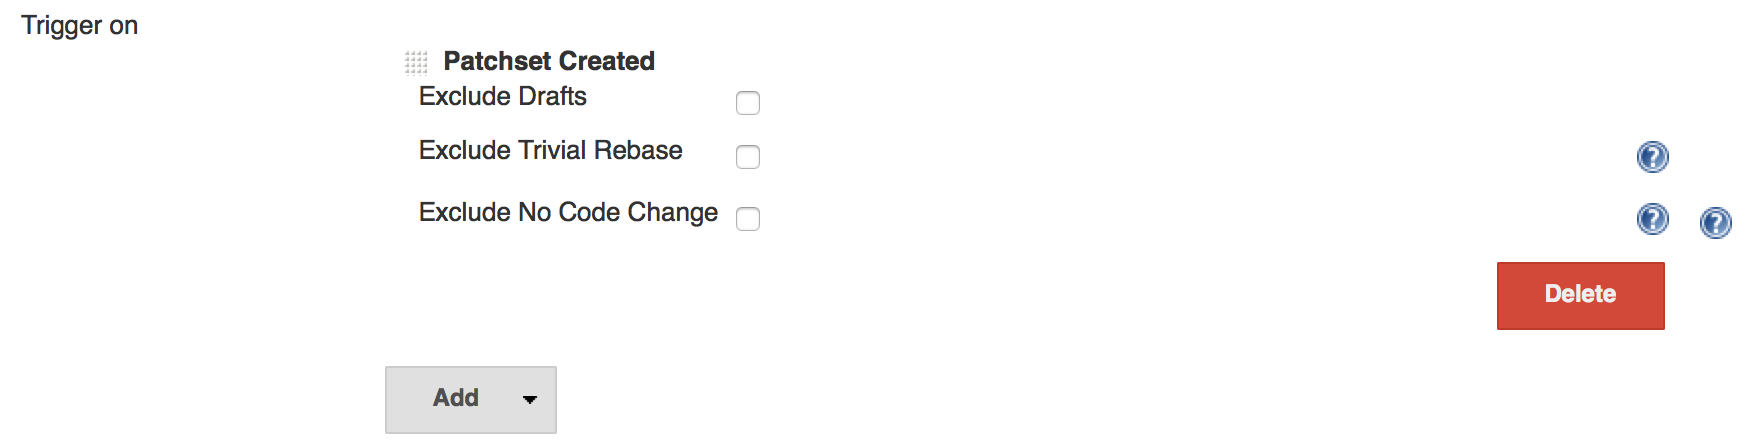
- Next you need to decide when you want to trigger. We added "Patchset Created" which will trigger when a new change or PatchSet is uploaded.
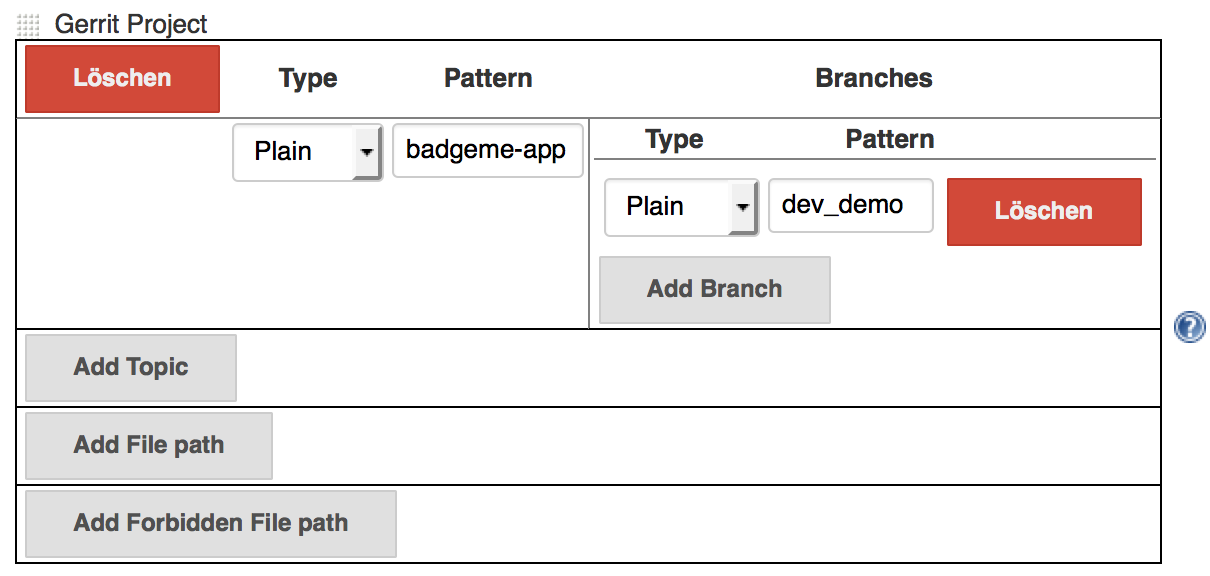
- Below "Dynamic Trigger Configuration" you specify what Gerrit projects to trigger a build on. In our case we said that we want to listen on the project pattern "badgeme-app" within the branch pattern "dev_demo", which is the branch in our project.
Xcode Plugin
Now we setup our Xcode Plugin, therefore you need to add a new build step and select "Xcode".
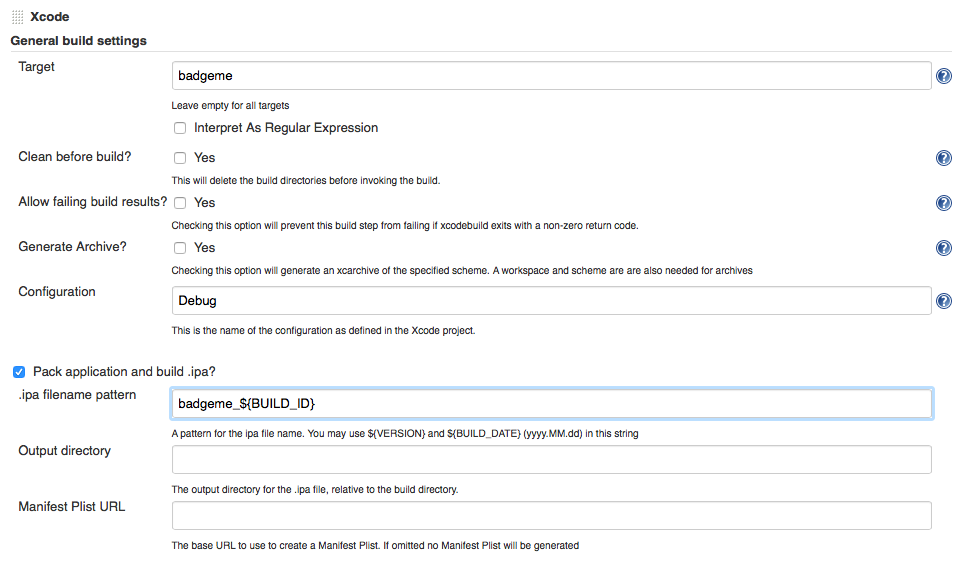
General build settings
- As Target you choose your Xcode scheme which you want to build for.
- For Configuration we chose "Debug" for development purposes.
- Select Pack application and build .ipa and choose a filename.
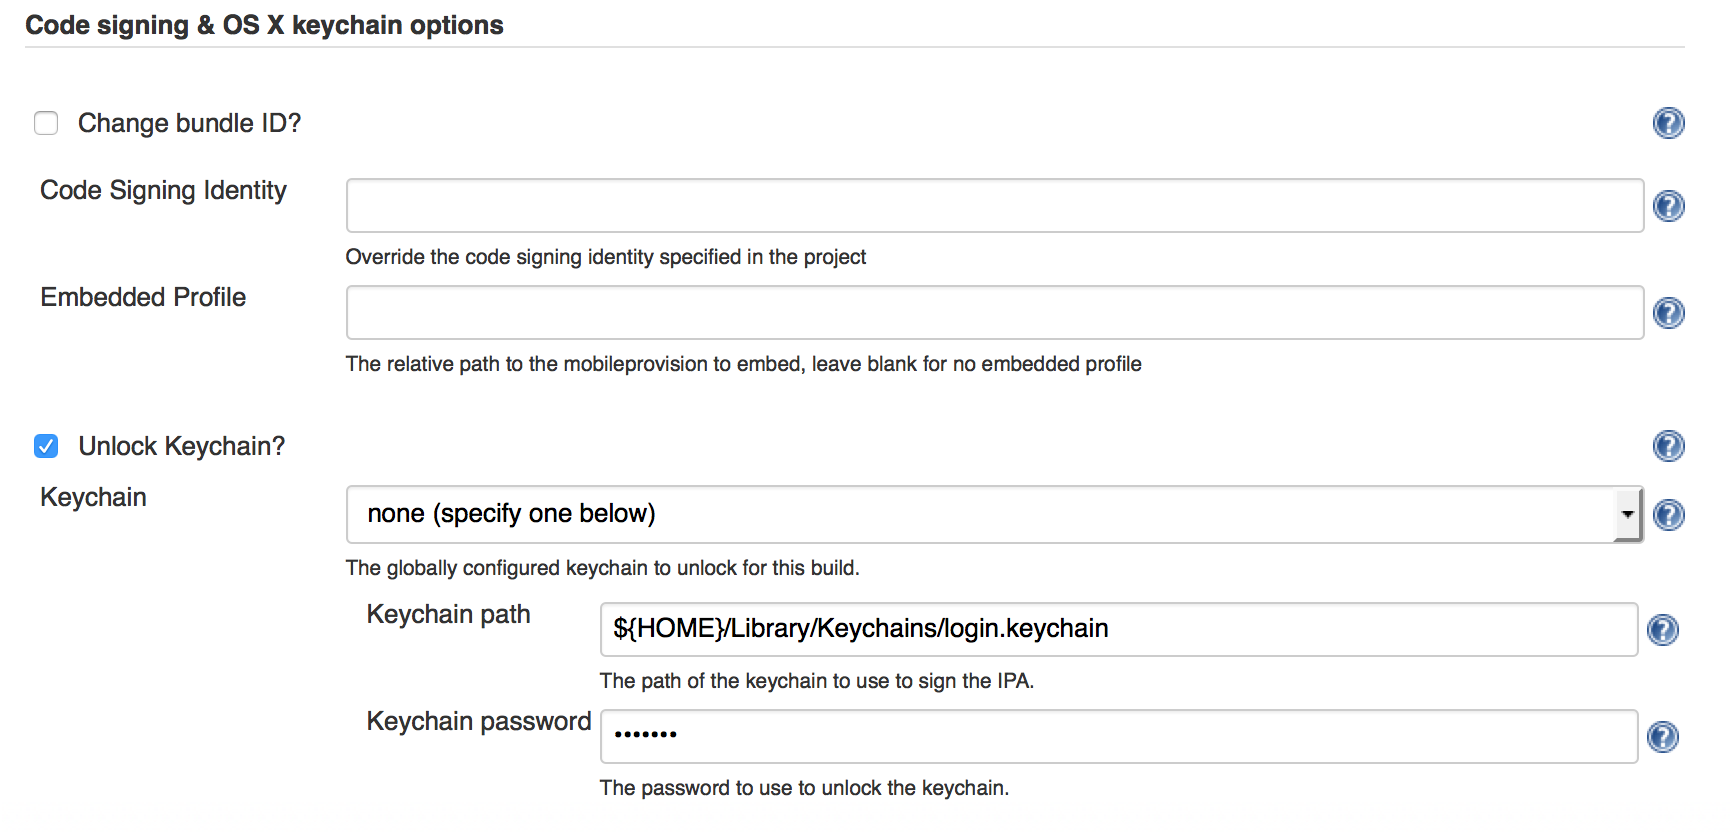
Code signing & OS X keychain options
- In order to generate IPA files for deploying on real devices, they need to be code signed. Make sure you followed the steps in our earlier post which will import all of the necessary certificates into your keychain. You need to checkmark Unlock Keychain? and insert the path to your local keychain where you installed your certificates under Keychain path with your given Keychain password.
Note: This is where we ran into another little problem that might be quite hard to discover when working with VM's or servers on the command line only. Unlocking the keychain didn't work for us automatically so we had to build the project once and specifically allow keychain-access manually when prompted for it. One more thing we noticed here: This dialog will only pop up if you build for a real device - running your project on a simulator will not help you here.