Note: Like mentioned in requirements, an Apple Developer Program is required if you intend to distribute your apps via TestFlight or get them into the App Store.
Unlike Android's plug-and-play mechanisms for deploying software onto your development devices, Apple requires you to code sign your application before you can actually use it on a real device.
Note: Apple stated that starting from Xcode version 7, developers will no longer have to be part of the Apple Developer Program in order to run apps on real devices which are attached via USB. This does not include distribution.
This post will give you all the information about getting your code signing up and running.
1. Head over to the Apple Developer Center and log into your account
The next thing we're going to do is creating certificates for Development and Distribution purposes.
Note: If you don't intend to distribute your apps via TestFlight, you won't need a Distribution Certificate.
Therefore, add new entries in the respective sections within "Certificates, Identifiers and Profiles" > "Certificates".
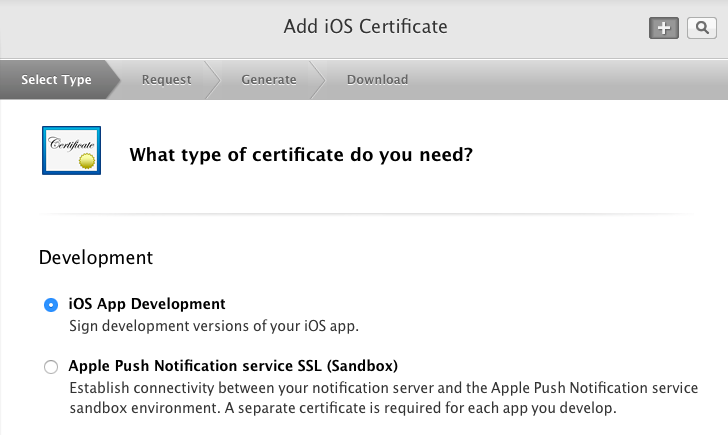
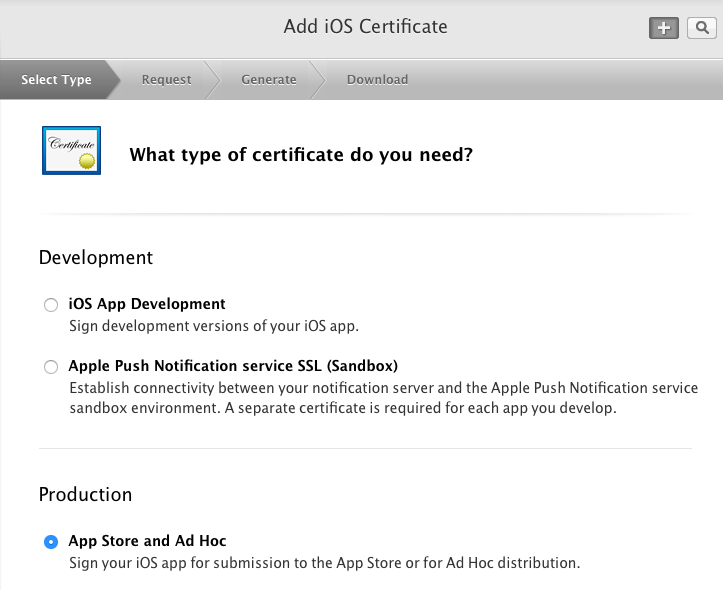
2. Create a new Development and/or Distribution Certificate
The certificates are used to authenticate the developer as the rightful owner. Create each of the certificates by following the instructions of the wizard on Apple's Website.
Development Certificate:
Distribution Certificate:
Once you have created your certificates you have to download these and import them into your keychain by double-clicking on the downloaded *.cert files.
3. Create App IDs
An App ID is a unique identifier whose primary use is to specify which apps are authorized to be signed and launched. Enter anything suitable for your project as a description and select "Explicit App ID" in the "App ID Suffix" section. As a bundle ID, it's usually a best practice to enter something in reverse-domain notation. Enter something like this when creating your App ID:
com.domainname.applicationname
Additionally, you can (un)check any App Services that you intend to enable in your app - these are optional for our purposes however.
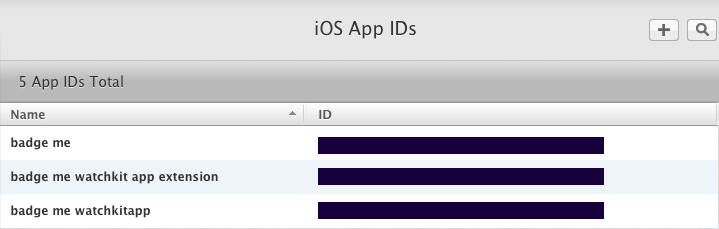
Note: Developing for the Apple Watch forces you to create 2 supplementary App IDs for the WatchKit App and the WatchKit Extension in addition to your "normal" iOS App ID. These additional App IDs are built up using the following scheme:
WatchKit App: com.domainname.applicationname.watchkitapp
WatchKit Extension: com.domainname.applicationname.watchkitapp.watchkitextension
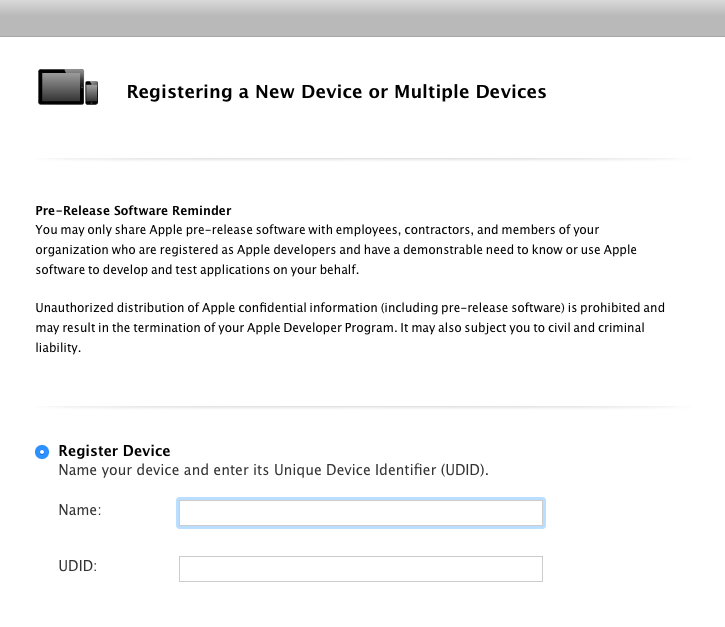
4. Register your devices you wish to deploy your app onto
Next, we'll add iOS devices within the development center. This will allow you to deploy your app onto all devices you registered here. Thus, select "Devices" > "All" from the side menu and click the "+" icon at the top. Now you can add the device's name and its UDID.
Note: You can add up to 100 devices per category (e.g. iPhone, iPad, Apple Watch). If you're unable to find your devices' UDID - follow these steps.
5. Create new Development and/or Distribution Provisioning Profiles
A Development Provisioning Profile contains a set of Development Certificates, Device Identifiers and an App ID. The Provisioning Profile has to be installed on each device on which you're planning to run your application code.
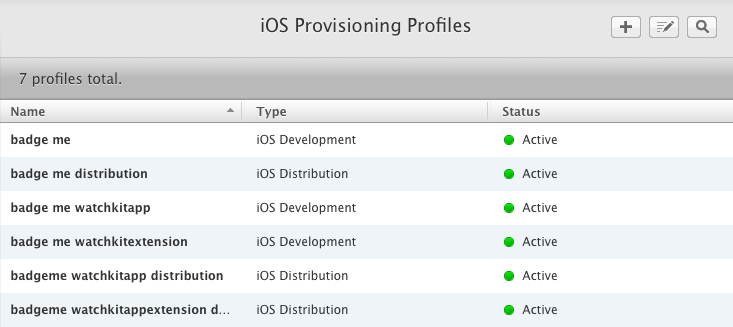
Note: For each App ID you registered earlier in Step 3 you need to create one Provisioning Profile for development and distribution purposes. So if you're working on an Apple Watch project which uses 3 targets, you'll end up with 6 Provisioning Profiles (3 development profiles and 3 distribution profiles).
While creating the distribution profiles, make sure to select the "App Store" option. This will allow you to use the beta distribution via TestFlight later on. Finish this step by completing the instructions from the wizard and finally import all of the profiles by double-clicking on the corresponding files.
Once you are done it should look something like the screenshot below:
Congratulations - now you've created everything you need and you're now able to proceed setting up your Xcode project. This will be covered in the next post of this section.